iAUDIO 9+ Firmware V1.05

Warning/Caution


Fixed time change error from Setting>Time menu (some products were reported with this issue).

iAUDIO 9+ Firmware V1.05 Download


 Please read notes before install the firmware.
1. Save the latest firmware (Zip file) provided by COWON.com at any folder and unzip the firmware.
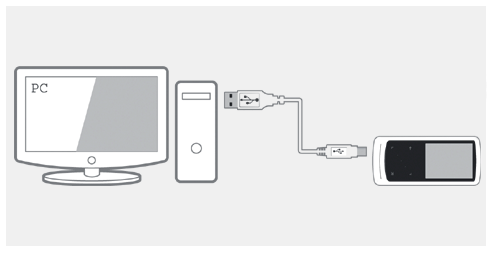
2. Please connect your iAUDIO 9+ directly to the USB port of your PC with the included cable in the package.
3.The battery should be fully charged

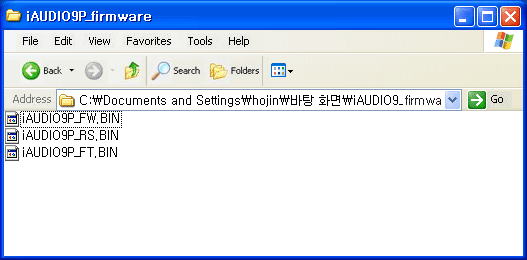
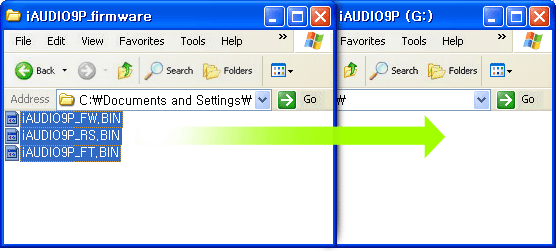
Download the firmware to your PC and unzip it. You will get iAUDIO9P_FW.bin, iAUDIO9P_RS.bin and iAUDIO9P_FT.bin files.

Connect iAUDIO 9+ to the PC by USB cable and wait until your computer recognizes iAUDIO 9+ as a removable disk.

When iAUDIO 9+ is recognized as a removable disk, paste iAUDIO9P_FW.bin, iAUDIO9P_RS.bin and iAUDIO9P_FT.bin files to the root folder (top folder in iAUDIO 9+) in iAUDIO 9+.

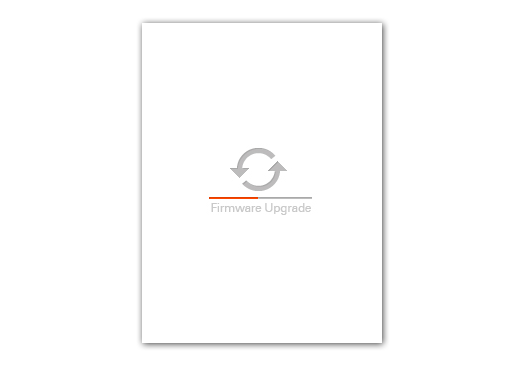
When file copy is finished, disconnect iAUDIO 9+ from the PC and turn it on. iAUDIO 9+ will start firmware upgrade automatically. Firmware upgrade progress bar shows up during firmware upgrade. The device will be turned off when upgrade is completed.

Turn on iAUDIO 9+ again and check the version of firmware on the first screen. If the numbers appear on the screen are the same as the firmware's, new firmware has been installed properly.
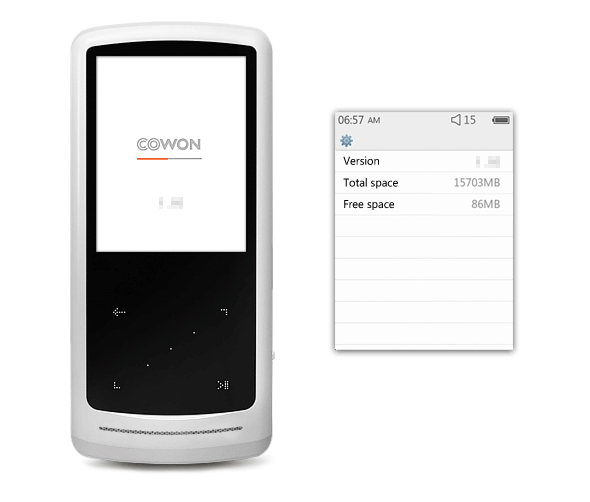
You will be able to check version of firmware on settings > system > information.